

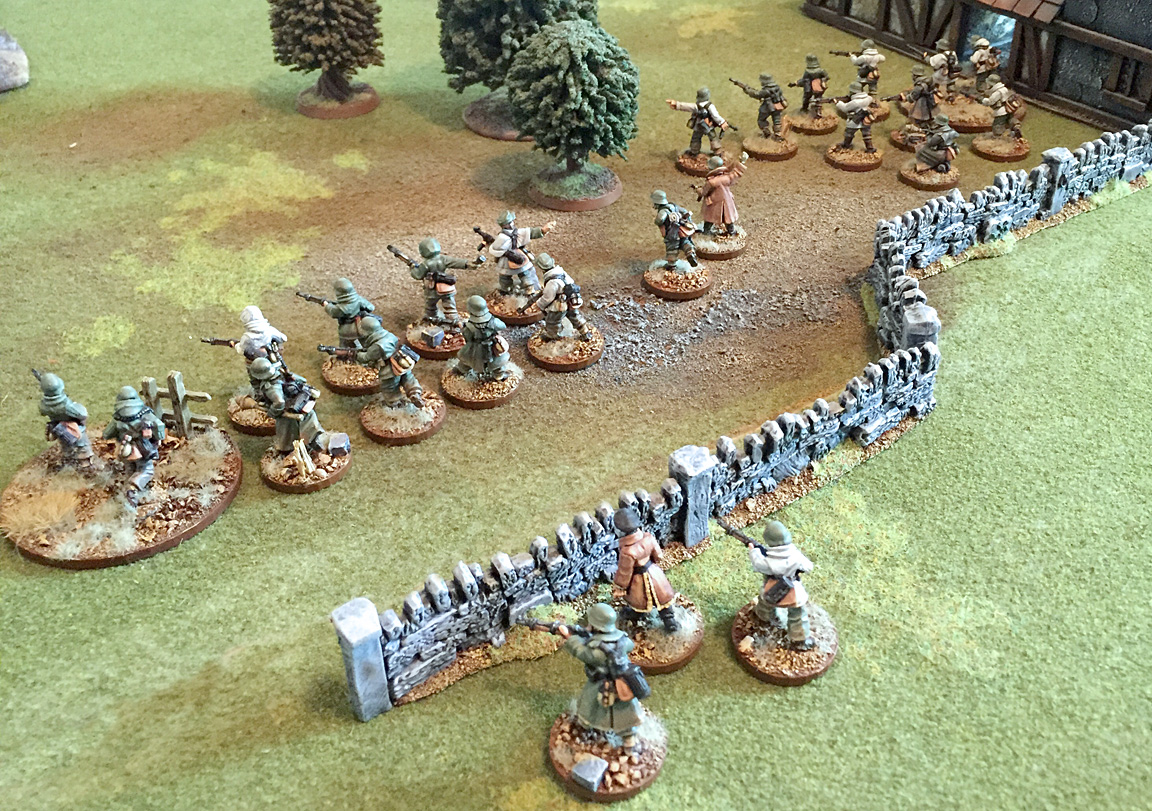
The board was laid as you see above, a typical sleepy village. I diced randomly to see if the game would play across the long or narrow sides of the table, and end up with my starting edges being the short sides. While this restricts movement a bit, it does allow for the use of reserves which is often lacking on small tables. I diced randomly to see which army set up on which side (the Germans ended up on the near side) and even to see where units were deployed...
1. Forward - the unit may be place anywhere up to 24" from the starting edge...
2-3. Road A (C for the Germans)
4-5. Road B (D for the Germans)
6. In Reserve...
This forces me to manage a bit of chaos in the battle rather than carefully plot ever move which is important in a solo game. I ended up with a couple of surprises, mainly with the Panther deployed forward (which snuggled in behind the inn at the center of the table) and all of my US support weapons (two bazooka teams and a light mortar) and one German Grenadier Squad held in reserve. What follows isn't much of a battle report, but more a collection of photos and a few notes on key moments in the game...


The US started very aggressively, running forward on both flanks and zipping the M8 Greyhound up the road at top speed, seeking to force the Germans onto the defensive.


Things went well for the US initially. The Greyhound lured the Panther into the open and the Sherman managed to put a pin marker on it, but no damage was caused. The Panther scored a hit in return, but only managed to stun the crew of the Sherman. On the next turn, the crew managed to rally with the help of the detachment's Second Lieutenant and scurry away from what would have been an easy kill had the Panther managed to get the first order die.
Things started going downhill for the Americans on turn four when the USAF Forward Observer's airstrike called in a rookie pilot and the lad managed expertly avoid the panicked flak to strafe a Paratrooper Squad rather than the German Grenadiers it had been asked to kill...


The Panther also torched the Greyhound, scattered a unit of Paratroopers on the flank (who were then seriously mauled by the SDKFZ 222) and began an uneven dual with the Sherman which was caught in the open and destroyed on turn five.

The Germans advanced in good order, putting enough fire into the US support teams to keep their heads down and ensure they had no chance for revenge against the rampaging Panther...
I called it at the end of turn six with the Germans with 3VPs and the Americans 0VPs. The US lost the Sherman, the Greyhound, and a bazooka team (all to the damned Panther). Both infantry squads were pretty beaten up (and one was struggling with six pinning markers and the loss of it's NCO while two German Grenadier Squads advanced toward it). In fact the only US units left in good order were the Light Mortar team, the Command HQ, and the Forward Observer team (pending their court martial). The Germans suffered one squad reduced to half when it was caught in the open by a mortar and light machine gun in the same turn, but they managed to pass their morale test and legged it to cover on their next die.
That was fun! The dice in the bag mechanic is very similar to what I love about Victory Without Quarter and Donnybrook. The combat mechanics are fast, easy to remember, and well presented so that I never felt confused during the game. I can't wait to have another go and I'm already planning what models I want to add to my collection (the Americans need more tanks - I have two more Sherman kits and I'm off now to build them). Next time I will set up a proper point match and see if the Americans fare any better. I may even recruit someone else to lead the armies (I have a couple of friends who want to try this game and I may be able to trick them into building their own armies).
Cool looking game.
ReplyDeleteDon't worry about points. The cover units are in is not a calculation and it does affect the number of hits received. You can play your Americans by placing those you have in buildings with the "kill only on 6" option or simply in hard cover which raises the "too hit" numbers by two.
ReplyDeleteThe game itself really looked very nice and might have had a better result with more accurate air support.
Jerry
That would have helped, wouldn't it? Though I suppose there might have been more Panthers too. My tank was probably lost (my aerial is broken on the model so they probably can't communicate with the others).
ReplyDeleteJust as a FYI (in case you are unfamilar with the rules), Bolt Action only allows one tank per infantry platoon for game balance, though there is a list which allows you to use tank platoons as the base and infantry become support.
I'm actually not too bothered by the lists. As both armies I mine, I tend to balance things organically when I design the collection (hmm.. my Americans need more anti-tank so I'll add a bazooka team). I am currently painting two more shermans so I can run the old scenario from 'Operation Warboard' and that game won't follow the lists at all...